序
去年写过一篇如何使用GitHub搭建网站,利用 Github Pages 上传自己写的 HTML 文件来运行一个网页..
嘛.. 搭建博客的话,手写 HTML CSS JS 太麻烦了…
怎么办?用框架呀
qwq
我建议用 Hugo… 个人觉得最简单
正好有个朋友的博客要重建..
注册 Github
首先你得有个 Github 帐号和一个能在 Github Pages 显示的库。
去年那篇已经写清楚了如何注册 Github 帐号以及创建 Github Pages 库,这里就不再重复了。
总之你需要有一个 Github 帐号,然后创建一个名字为这样的库,记得勾选 Public
你的GitHub用户名.github.io
安装 Hugo
接下来安装 Hugo
1
|
$ sudo apt install hugo
|
到 Github下载安装程序即可
生成一个博客
我以 Linux 为例,其他平台可能有些细节不同,请注意
打开你的终端,输入
接下来你的终端会返回一些这样的文字
 1
 2
 3
 4
 5
 6
 7
 8
 9
10
11
12
|
Congratulations! Your new Hugo site is created in /home/weepingdogel/test.

Just a few more steps and you're ready to go:

1. Download a theme into the same-named folder.
   Choose a theme from https://themes.gohugo.io/ or
   create your own with the "hugo new theme <THEMENAME>" command.
2. Perhaps you want to add some content. You can add single files
   with "hugo new <SECTIONNAME>/<FILENAME>.<FORMAT>".
3. Start the built-in live server via "hugo server".

Visit https://gohugo.io/ for quickstart guide and full documentation.
|
这个时候你也许知道怎么做了,如果看不太懂英文呢,用 Google Translate 翻译一下:
 1
 2
 3
 4
 5
 6
 7
 8
 9
10
11
12
|
恭喜你! 您的新Hugo网站是在/ home / weepingdogel / test中创建的。

仅需执行几个步骤,您就可以开始:

1.将主题下载到同名文件夹中。
    从https://themes.gohugo.io/中选择一个主题
    使用“ hugo新主题<THEMENAME>”命令创建自己的命令。
2.也许您想添加一些内容。 您可以添加单个文件
    和“ hugo new <SECTIONNAME> / <FILENAME>。<FORMAT>”。
3.通过“ hugo服务器”启动内置实时服务器。

请访问https://gohugo.io/以获取快速入门指南和完整文档。
|
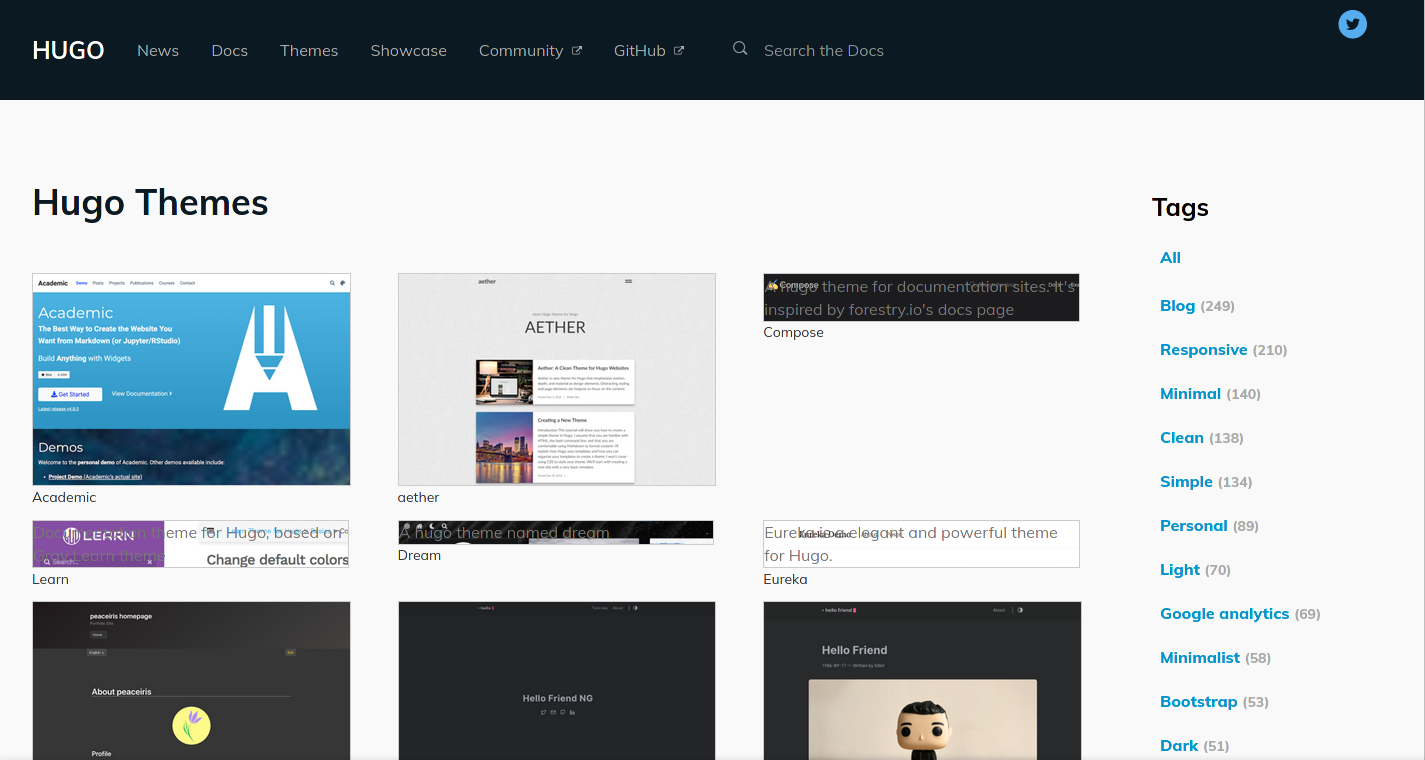
好的,接下来我们前往 https://themes.gohugo.io/ 找一个好看的主题。

这里有很多主题,qwq。
嗯… 因人而异,每个人喜欢的都不同。
而且各种主题的配置方式也不同,我以 hugo-coder 为例
进入 hugo 目录
查看里面的文件
1
2
3
4
5
6
7
8
|
总用量 28K
drwxr-xr-x 2 weepingdogel weepingdogel 4.0K 10月 22 13:23 archetypes/
-rw-r--r-- 1 weepingdogel weepingdogel   82 10月 22 13:23 config.toml
drwxr-xr-x 2 weepingdogel weepingdogel 4.0K 10月 22 13:23 content/
drwxr-xr-x 2 weepingdogel weepingdogel 4.0K 10月 22 13:23 data/
drwxr-xr-x 2 weepingdogel weepingdogel 4.0K 10月 22 13:23 layouts/
drwxr-xr-x 2 weepingdogel weepingdogel 4.0K 10月 22 13:23 static/
drwxr-xr-x 2 weepingdogel weepingdogel 4.0K 10月 22 13:23 themes/
|
我们只需要记住这几个目录
- config.toml
- static
- content
- 你写的文章会存储在这个目录下的
posts\ 目录下,其他页面也是在这个目录下
- themes
- public
然后我们.. 执行这些
1
|
$ git clone https://github.com/luizdepra/hugo-coder.git
|
接下来将主题里面的 examplesite/config.toml 复制到 hugo 目录
1
|
$ cp ./themes/hugo-coder/exampleSite/config.toml ./ -v
|
还要将 examplesite/content 目录下的东西也复制到外面这个 content 目录里面
1
|
$ cp -rv ./themes/hugo-coder/exampleSite/content/* content/
|
启动本地预览服务器
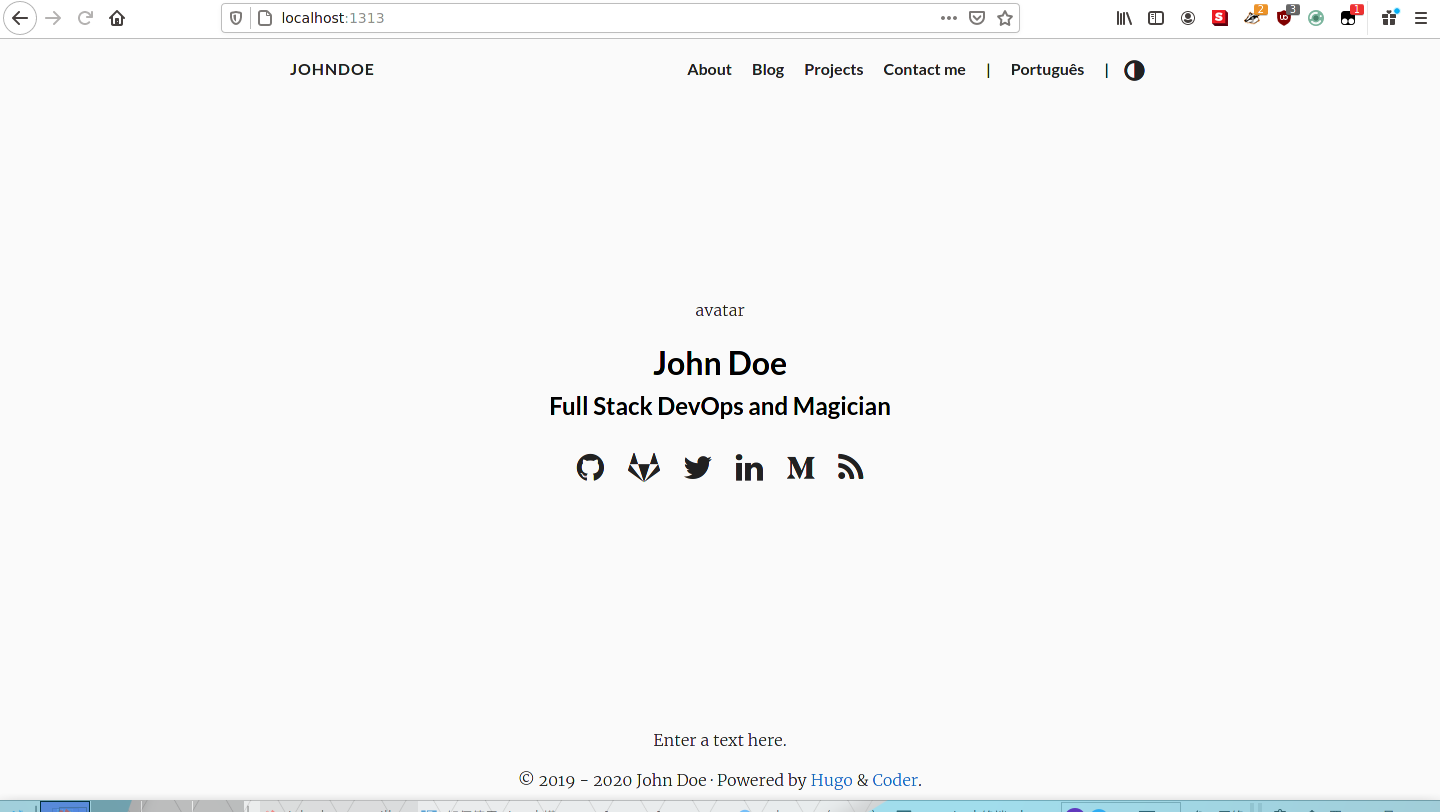
然后通过浏览器访问 http://127.0.0.1:1313/ 即可预览

这样一来,博客在本地就可以访问了,算是成功了一半。
你可以修改config.toml这个文件来更改你的博客配置
  1
  2
  3
  4
  5
  6
  7
  8
  9
 10
 11
 12
 13
 14
 15
 16
 17
 18
 19
 20
 21
 22
 23
 24
 25
 26
 27
 28
 29
 30
 31
 32
 33
 34
 35
 36
 37
 38
 39
 40
 41
 42
 43
 44
 45
 46
 47
 48
 49
 50
 51
 52
 53
 54
 55
 56
 57
 58
 59
 60
 61
 62
 63
 64
 65
 66
 67
 68
 69
 70
 71
 72
 73
 74
 75
 76
 77
 78
 79
 80
 81
 82
 83
 84
 85
 86
 87
 88
 89
 90
 91
 92
 93
 94
 95
 96
 97
 98
 99
100
101
102
103
104
105
106
107
108
109
110
111
112
113
114
115
116
117
118
119
120
121
122
123
124
125
126
127
128
129
130
131
132
133
134
135
136
137
138
139
140
141
142
143
144
145
146
147
148
149
150
151
152
153
154
155
156
157
158
159
160
161
162
163
164
165
166
167
168
169
170
171
172
173
174
175
176
177
178
|
baseurl = "http://www.example.com"
title = "johndoe" # 博客标题

theme = "hugo-coder" # 主题名称,不需要动

languagecode = "en" # 语言,默认英文..
defaultcontentlanguage = "en" # 同上

paginate = 20

pygmentsstyle = "b2"
pygmentscodefences = true
pygmentscodefencesguesssyntax = true

disqusShortname = "yourdiscussshortname"

## 基本信息,自己谷歌翻译吧... qwq
[params]
    author = "John Doe"
    description = "John Doe's personal website"
    keywords = "blog,developer,personal"
    info = "Full Stack DevOps and Magician"
    avatarurl = "images/avatar.jpg"
    #gravatar = "john.doe@example.com"
    footercontent = "Enter a text here."

    dateformat = "January 2, 2006"

    hideFooter = false
    hideCredits = false
    hideCopyright = false
    since = 2019

    # Git Commit in Footer,取消注释下面的行以启用它。
    commit = "https://github.com/luizdepra/hugo-coder/tree/"

    rtl = false

    # Specify light/dark colorscheme
    # Supported values:
    # "auto" (use preference set by browser)
    # "dark" (dark background, light foreground)
    # "light" (light background, dark foreground) (default)
    colorscheme = "auto"

    # 隐藏切换按钮以及相关的垂直分隔线
    hidecolorschemetoggle = false

    # 系列,另见帖子数
    maxSeeAlsoItems = 5

    # 启用Twemoji
    enableTwemoji = true

    # 自定义CSS
    customCSS = []

    # 自定义SCSS
    customSCSS = []

    # 自定义JS
    customJS = []

# 如果要使用 fathom(https://usefathom.com)进行分析,请添加此部分
[params.fathomAnalytics]
    siteID = "ABCDE"
    # 默认值为cdn.usefathom.com,如果您是自托管主机,则将其覆盖
    serverURL = "analytics.example.com"

# 如果要使用 plausible(https://plausible.io)进行分析,请添加此部分
[params.plausibleAnalytics]
    domain = "example.com"
    # 默认值为plausible.io,如果您是自托管或使用自定义域,请覆盖此默认值
    serverURL = "analytics.example.com"

# 如果要使用山羊计数(https://goatcounter.com)进行分析,请添加此部分
[params.goatCounter]
    code = "code"

[taxonomies]
  category = "categories"
  series = "series"
  tag = "tags"
  author = "authors"

[[params.social]]
    name = "Github"
    icon = "fa fa-github"
    weight = 1
    url = "https://github.com/johndoe/"
[[params.social]]
    name = "Gitlab"
    icon = "fa fa-gitlab"
    weight = 2
    url = "https://gitlab.com/johndoe/"
[[params.social]]
    name = "Twitter"
    icon = "fa fa-twitter"
    weight = 3
    url = "https://twitter.com/johndoe/"
[[params.social]]
    name = "LinkedIn"
    icon = "fa fa-linkedin"
    weight = 4
    url = "https://www.linkedin.com/in/johndoe/"
[[params.social]]
    name = "Medium"
    icon = "fa fa-medium"
    weight = 5
    url = "https://medium.com/@johndoe"
[[params.social]]
    name = "RSS"
    icon = "fa fa-rss"
    weight = 6
    url = "https://myhugosite.com/index.xml"
    rel = "alternate"
    type = "application/rss+xml"


[languages]
    [languages.en]
        languagename = "English"

        [languages.en.menu]

            [[languages.en.menu.main]]
            name = "About"
            weight = 1
            url = "about/"

            [[languages.en.menu.main]]
            name = "Blog"
            weight = 2
            url = "posts/"

            [[languages.en.menu.main]]
            name = "Projects"
            weight = 3
            url = "projects/"

            [[languages.en.menu.main]]
            name = "Contact me"
            weight = 5
            url = "contact/"


    [languages.pt-br]
        languagename = "Português"
        title = "João Ninguém"

        [languages.pt-br.params]
            author = "João Ninguém"
            info = "Full Stack DevOps e Mágico"
            description = "Sítio pessoal de João Ninguém"
            keywords = "blog,desenvolvedor,pessoal"
            footercontent = "Coloque algum texto aqui."

        [languages.pt-br.menu]

            [[languages.pt-br.menu.main]]
            name = "Sobre"
            weight = 1
            url = "about/"

            [[languages.pt-br.menu.main]]
            name = "Blog"
            weight = 2
            url = "posts/"

            [[languages.pt-br.menu.main]]
            name = "Projetos"
            weight = 3
            url = "projects/"

            [[languages.pt-br.menu.main]]
            name = "Contato"
            weight = 5
            url = "contact/"
|
这里将文件里的注释翻译了一下。
关于这个主题的详细文档可以阅读这个链接。
根据自己的需要和说明修改配置文件就可以啦~
写博客
首先我们需要创建一个 *.md 文件,我们可以用 hugo new 来生成一个,因为不同主题它的空白格式都不一样
这个是本站的空白格式
1
2
3
4
5
|
---
title: "Test"
date: 2020-10-22T17:08:31+08:00
draft: true
---
|
这个是 coder 主题的空白格式
 1
 2
 3
 4
 5
 6
 7
 8
 9
10
11
12
|
+++
draft = true
date = 2020-10-22T17:09:47+08:00
title = ""
description = ""
slug = ""
authors = []
tags = []
categories = []
externalLink = ""
series = []
+++
|
还是有区别的对吧,因此我们需要这样子
1
|
$ hugo new posts/helloworld.md
|
如果终端返回一条这样的信息:
1
|
/home/weepingdogel/test/content/posts/helloworld.md created
|
就说明文件建立成功了,接下来只需要编辑这个文件就可以写了~
对了,写博客需要使用 MarkDown 语法,如果不了解的可以点击链接学一下哦~
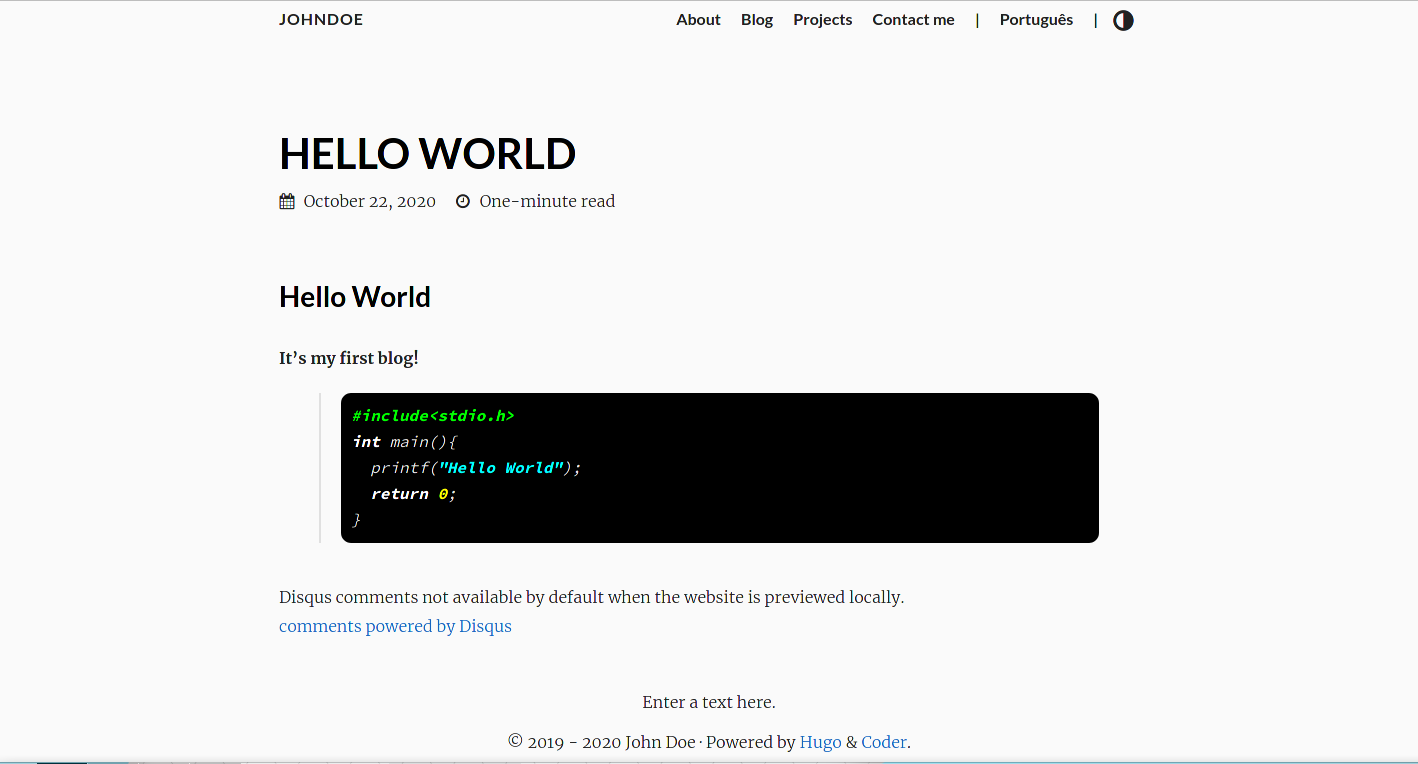
我就象征性的随便写一个吧~
 1
 2
 3
 4
 5
 6
 7
 8
 9
10
11
12
13
14
15
16
17
18
19
20
21
22
23
|
+++
draft = false
date = 2020-10-22T17:09:47+08:00
title = "HELLO WORLD"
description = ""
slug = ""
authors = []
tags = []
categories = []
externalLink = ""
series = []
+++

## Hello World

**It's my first blog!**
>```c
> #include<stdio.h>
> int main(){
>   printf("Hello World");
>   return 0;
>}
>```
|
 记得把
记得把 draft 后面的内个改成 false 哦,不然它会被默认识别为草稿,不会被发布的。
发布到 Github
写完了以后,我们发现现在只能在127.0.0.1:1313这个本地链接中预览,别人是看不到的。
接下來我们还得把它放到 Github 上去才行。
先生成静态文件
1
|
$ hugo --theme=hugo-coder
|
返回出以下内容
 1
 2
 3
 4
 5
 6
 7
 8
 9
10
11
12
13
14
|
Start building sites …

                   | EN | PT-BR
-------------------+----+--------
  Pages            | 57 |    25
  Paginator pages  |  0 |     0
  Non-page files   |  0 |     0
  Static files     |  0 |     0
  Processed images |  0 |     0
  Aliases          | 21 |     9
  Sitemaps         |  2 |     1
  Cleaned          |  0 |     0

Total in 237 ms
|
进入 public 目录
接下來我们需要做的就是把这个目录里所有文件 pull 到 你的GitHub用户名.github.io 这个库里面去,其实很简单..
初始化仓库
添加文件
作出提交请求
1
|
$ git commit -m "随便写点啥"
|
添加你的 Github 仓库地址
1
|
$ git remote add origin https://github.com/你的Github用户名/你的Github用户名.github.io.git
|
使用 http 的方式提交
1
|
$ git push -u origin master
|
接下來输入你的帐号密码,就会自动提交到仓库了,接下來等一会儿,你的博客就能通过这个链接被访问了。
1
|
https://你的Github用户名.github.io/
|
结语
这个坑终于填完了。
对,这次也是很水的,而且还偷懒了,写得不太详细,看完还是不会的,在下面留言就好..
qwq
参考链接


 记得把
记得把  WeepingDogel