How To Transfer A Value From The Parent Component To The Child Component in Vue 3.2
A passage to record some methods of programming in FrontEnd Development.

Introduction
Vue is a popular JavaScript framework for building interactive web interfaces. It’s easy to learn, versatile, and has a supportive community.
Developing single-page applications with Vue is incredibly convenient.
However, there are instances where we encounter challenges when it comes to transferring values between parent and child components.
Still unclear? Imagine this scenario: You’ve created a button and you want it to control the content of a <p></p> element, thereby fulfilling a specific development requirement.
Then it’s time to transfer different values to ChildComponet to change the properties or trigger an event.
Ways to transfer a value from the parent to the child
Step 1: Create the Parent Component
- Create a new Vue component file for the parent component (e.g.,
ParentComponent.vue). - In the component’s template, define the parent component’s content and include the child component.
|
|
- Import the child component by adding the necessary import statement.
|
|
- Register the child component in the parent component’s components property.
|
|
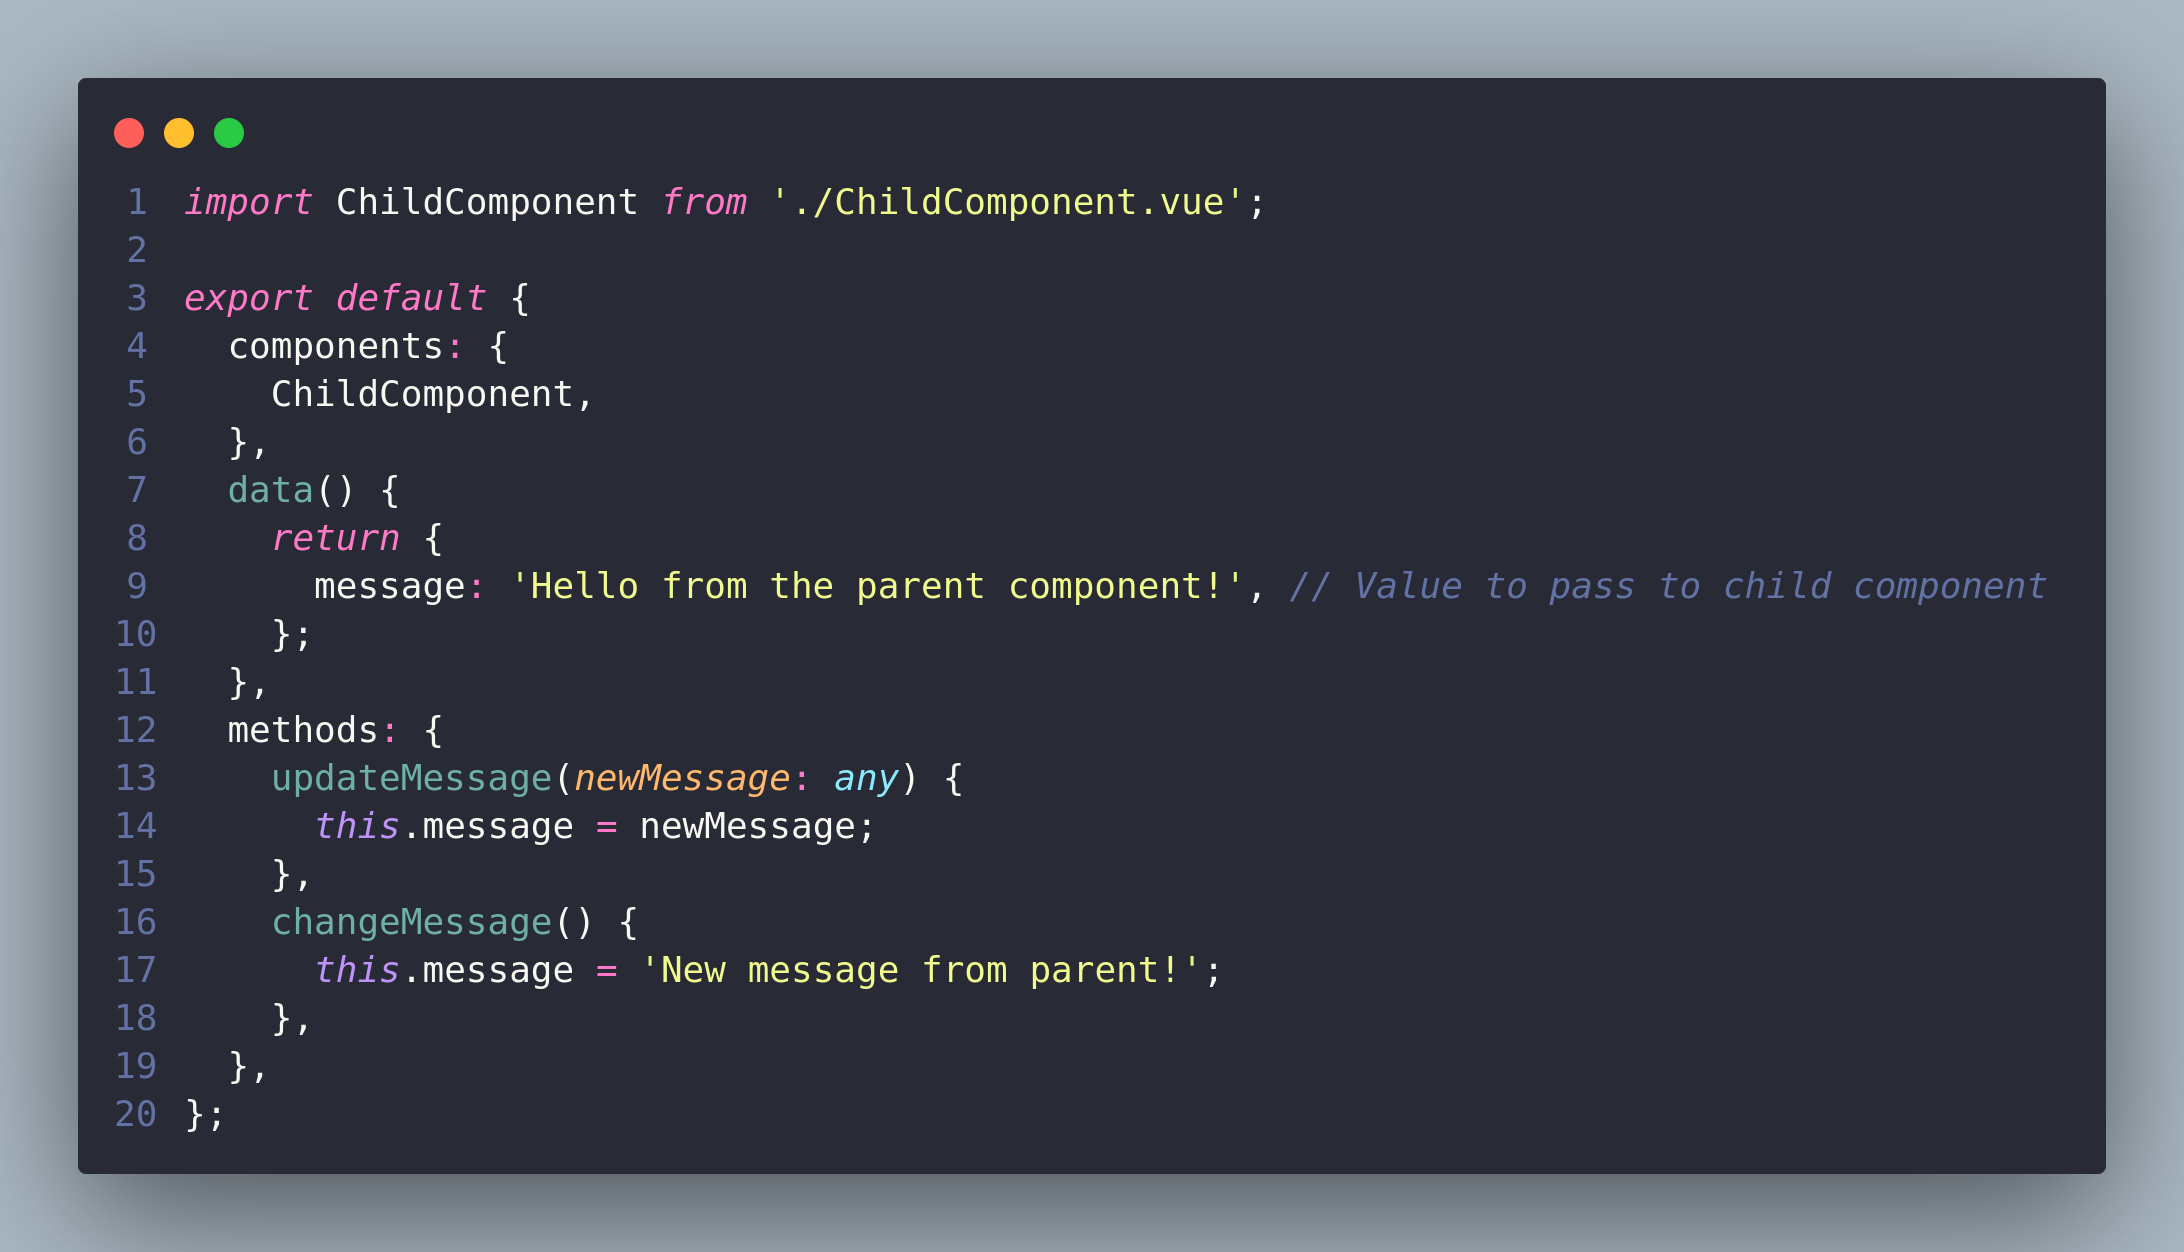
Step 2: Define the Data in the Parent Component
- In the parent component’s script section, define a data property to store the value that will be passed to the child component.
|
|
- Assign the initial value to the data property. This will be the value passed initially to the child component.
|
|
Step 3: Pass the Data as a Prop to the Child Component
1.In the parent component’s template, add the child component and use the colon (:) binding to pass the data property as a prop to the child component.
|
|
- The prop name in the child component should match the name you choose when passing the prop in the parent component.
|
|
Step 4: Create the Child Component
-
Create a new Vue component file for the child component (e.g.,
ChildComponent.vue). -
In the child component’s template, define the child component’s content. This will include rendering the prop value passed from the parent component.
|
|
Step 5: Define the Prop in the Child Component
- In the child component’s script section, define the prop for receiving the data sent by the parent component.
|
|
- Specify the type of the prop (e.g.,
String,Number, etc.) to ensure data integrity. You can also setrequired: trueif the prop must be passed.
|
|
Step 6: Emit an Event from the Child Component
- In the child component’s script, define a method that will emit an event to communicate with the parent component.
|
|
- Inside the method, use this.$emit(’event-name’, data) to emit the event. Choose a suitable event name and pass any relevant data to the parent component.
|
|
Step 7: Handle the Event in the Parent Component
- In the parent component’s script, define a method that will handle the event emitted by the child component.
|
|
- Add an event listener to the child component instance in the parent component’s template, using
@event-name="methodName".
|
|
- In the method, receive the emitted data as an argument and update the parent component’s data accordingly.
|
|
Compeleted Code
ParentComponent:
|
|
ChildComponent:
|
|
Test
Then we can execute yarn dev to start a development server and we can see a page like this:

Now Let’s try clicking the first button!

Obviously! The content of the text changed!
Then let’s click the second button!

It became “New message from parent!”!
That’s amazing right?
Conclusion
That’s it! By following these steps, you can successfully pass a value from a parent component to a child component using props and events in Vue.js. Don’t forget to save your files, import components where necessary, and register components appropriately.